
I had a great deal of fun making this Father Christmas doll, the third one I have made. Supplies include:
2 pipe cleaners
stuffing wool (I got it thorough Halcyon Yarn
http://halcyonyarn.com/fibers/fiberswildwooly.html )
Red, green and golden felting wool (also through Halcyon and fiber festivals)
A small amount of colored wool for eyes and lips and face if you want a different skin tone than I have here.
I used washed, un-carded curly locks for the beard and hair- you can purchase wool doll hair or make it yourself by braiding wool hanks and letting them set.
Needling pad or sponge
Needles.
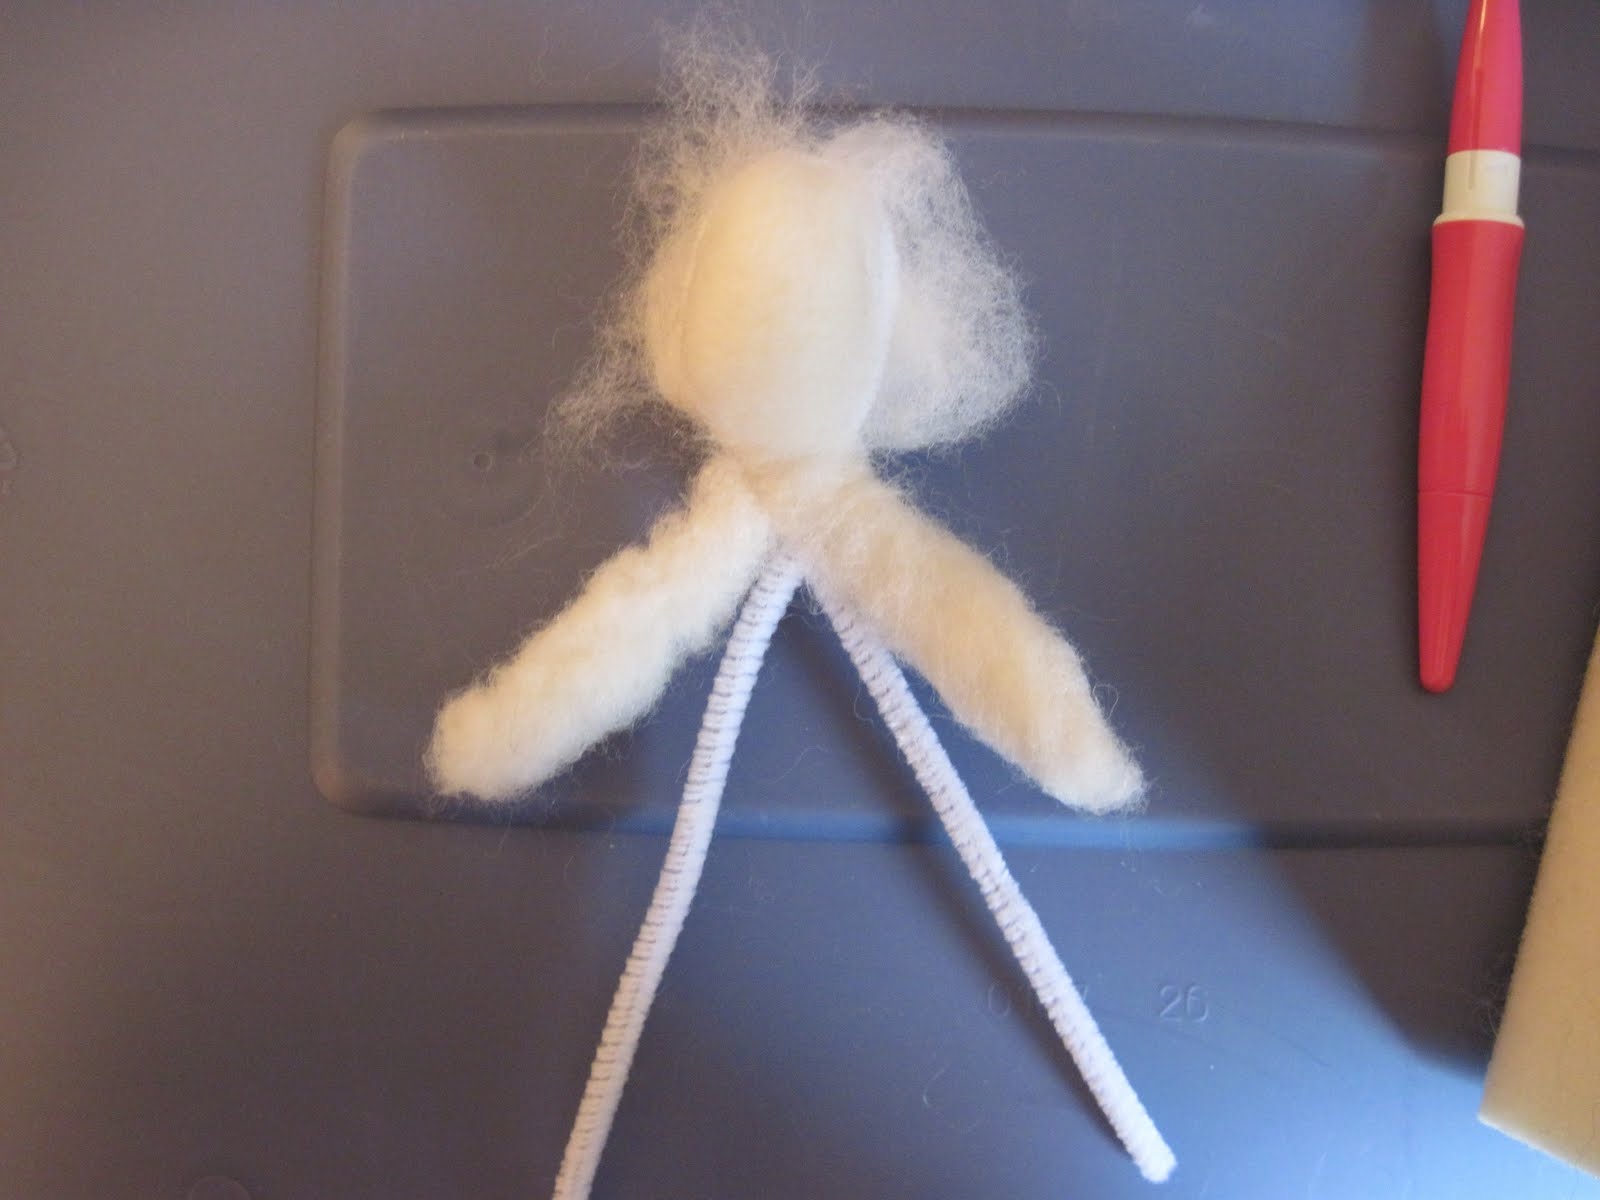
The first thing to do is take two pipe cleaners- one for the head and arms, the other for the bodice, and bend them, as below:

This gives you a form to work with and some flexibility in the arms later. Next, I wrapped the arms in stuffing wool and needled it into place (light needling at this point allows you to make changes later). I then stuffed the head from one side- the smooth front becomes the face, the back is later covered by hair:

Next I took a small hank of wool and needled it in the center to build up a nose. This takes some practice, so try a few times (and use tan or brown or whatever color wool for different skin tones on the face and "hands." When I have made darker skin tone dolls, I have set the eyes off in a white background so they can be easily seen):

I then needled the whole thing into place on the face:

Next begin stuffing the body- this is where you need a firm conviction that it will eventually look like something, not an amorphous blob!

Continue to needle the wool to get it tighter and firmer, adding wool as necessary. Needle from the bottom too, to "lock in" the core wool at the base- here it is firming up:

Begin to add colored wool. The red is a Christmas red, and the green is a forest green, but it appears darker on these photos than it really is:

I took some red wool and made a small poinsettia, adding the yellow accents (these are the true flowers of the poinsettia- the red are modified leaves, called bracts) (you will see later where I add this to F. Christmases robe):

I took a hank of red wool and needled it flat, into a rectangle. Then I folded it into a cone and trimmed it and needled the back seam from the inside to make a cone-shaped hat. Here it is being needled to Fa. Christmases head...oh and I added some facial features and later straightened his nose:

I made a small sack for toys and a wrapped present to put in it (honestly, this is red, not pink):

Then I needled on the hair and beard, folded the hat down, added some holly and assembled my Father Christmas!

Till next time, I'll be needlin' around!


 I figured I should post these photos of a lap blanket I am working on and not wait until it is done (when will that be???) . I was given the gift of wool for my birthday one year and had half of it made into wool batts (wool felt fabric) at a fiber mill. I made a vest out of one piece (that's another post) and decided to make a lap blanket with this batt. I backed the batt with an old white cotton sheet. I folded the batt into quarters so I could pin the center to mark the center of the design, then stitched a circle on it with needle and thread, after I came up with the idea of a wreathe design. The first part I tackled was the ribbon, and I had to reposition that a few times to get it right. Then I worked the tulip design in loosely (always needle loosely at first, so you can easily remove and reposition your wool without harming the base fabric). I then started working my way around the wreathe, parallelling the type of flowers I added (forget-me-nots, single petaled roses, wisteria, until I go to the off-center "top" of the wreathe where I worked in the sunflowers. Once the flower forms were worked in, I began to add leaves and detail. Lastly I added in the four corner sunflowers. Future plans include a vine border, then I will bind it off and use it!
 This gives you a form to work with and some flexibility in the arms later. Next, I wrapped the arms in stuffing wool and needled it into place (light needling at this point allows you to make changes later). I then stuffed the head from one side- the smooth front becomes the face, the back is later covered by hair:
 Next I took a small hank of wool and needled it in the center to build up a nose. This takes some practice, so try a few times (and use tan or brown or whatever color wool for different skin tones on the face and "hands." When I have made darker skin tone dolls, I have set the eyes off in a white background so they can be easily seen):
 I then needled the whole thing into place on the face:
 Next begin stuffing the body- this is where you need a firm conviction that it will eventually look like something, not an amorphous blob!
 Continue to needle the wool to get it tighter and firmer, adding wool as necessary. Needle from the bottom too, to "lock in" the core wool at the base- here it is firming up:
 Begin to add colored wool. The red is a Christmas red, and the green is a forest green, but it appears darker on these photos than it really is:
 I took some red wool and made a small poinsettia, adding the yellow accents (these are the true flowers of the poinsettia- the red are modified leaves, called bracts) (you will see later where I add this to F. Christmases robe):
 I took a hank of red wool and needled it flat, into a rectangle. Then I folded it into a cone and trimmed it and needled the back seam from the inside to make a cone-shaped hat. Here it is being needled to Fa. Christmases head...oh and I added some facial features and later straightened his nose:
 I made a small sack for toys and a wrapped present to put in it (honestly, this is red, not pink):
 Then I needled on the hair and beard, folded the hat down, added some holly and assembled my Father Christmas!
 Till next time, I'll be needlin' around!


 I added a layer of color to the body:
 ..and a lighter color for the belly (working back and forth from side to side). Time for eyes..
 Adding the fishing line...
 and voila, a companion to the first fish, complete with eyes, eye spots and gill slits!
 Happy Birthday to my friend J!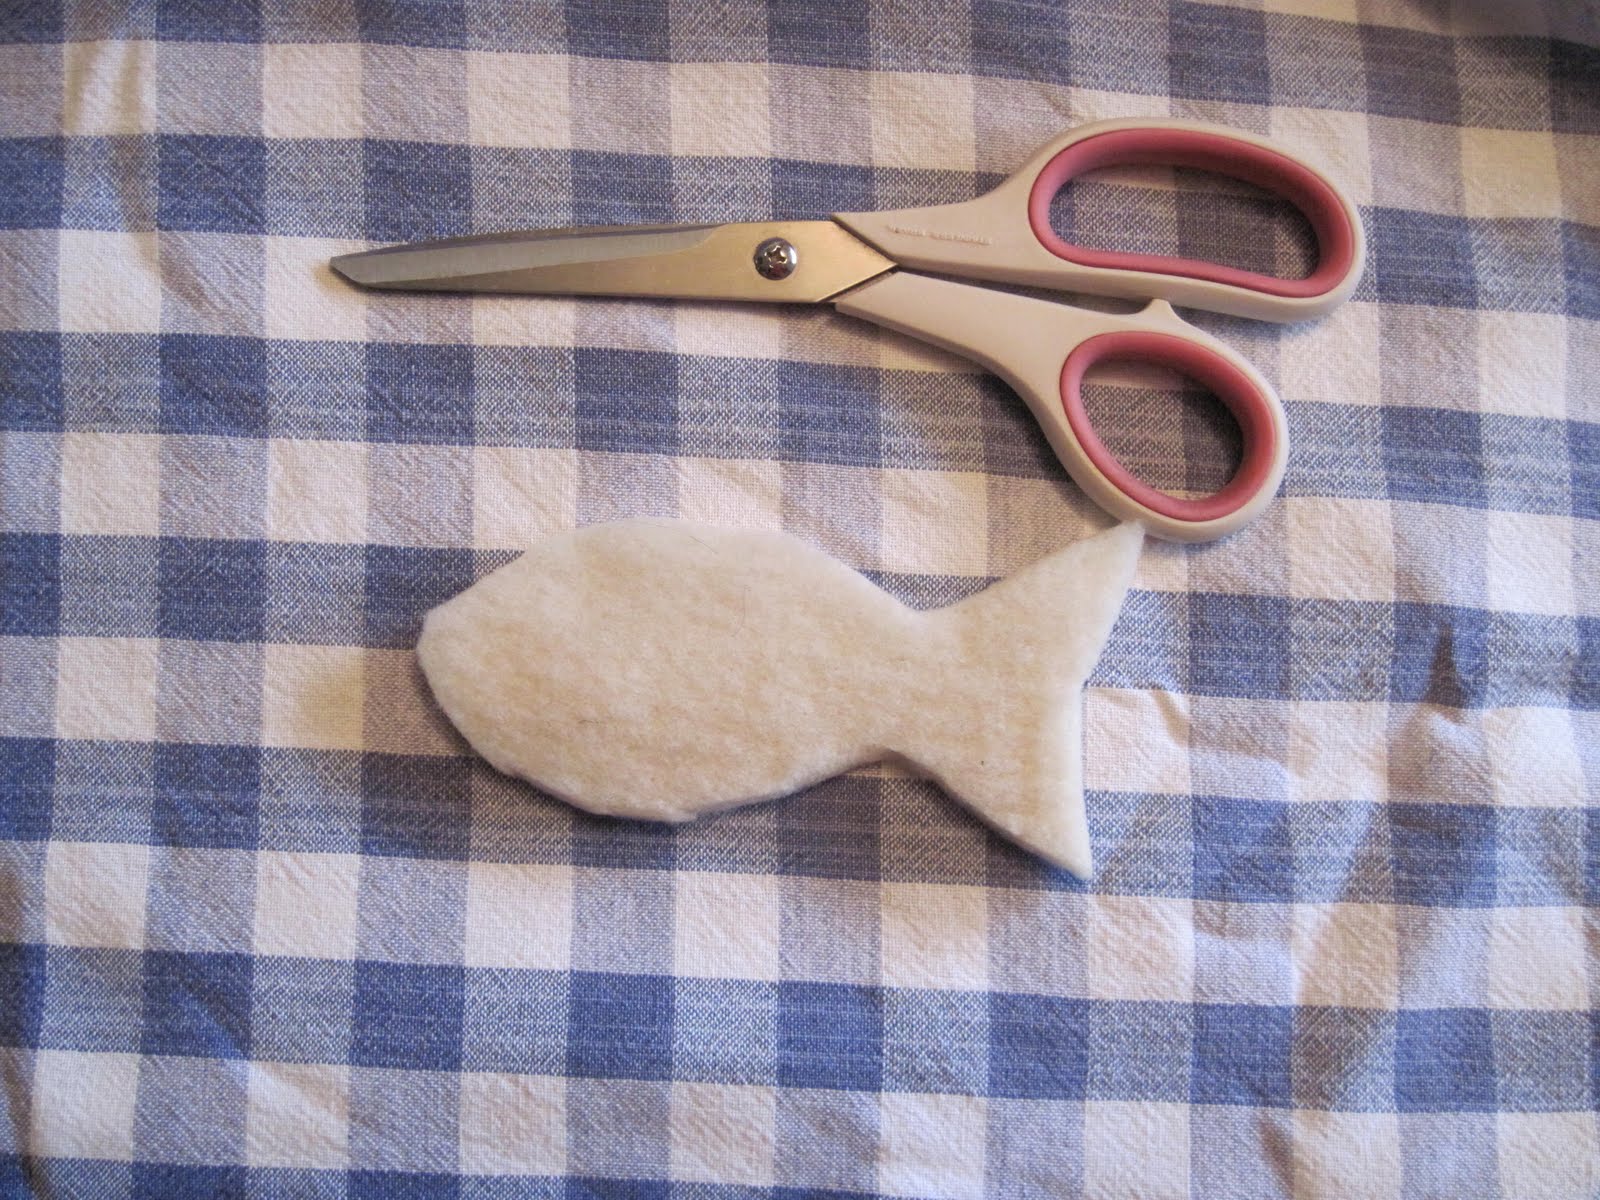
 Next, I began to work in details with colored wool, using three, two, then one needle, as the parts got smaller: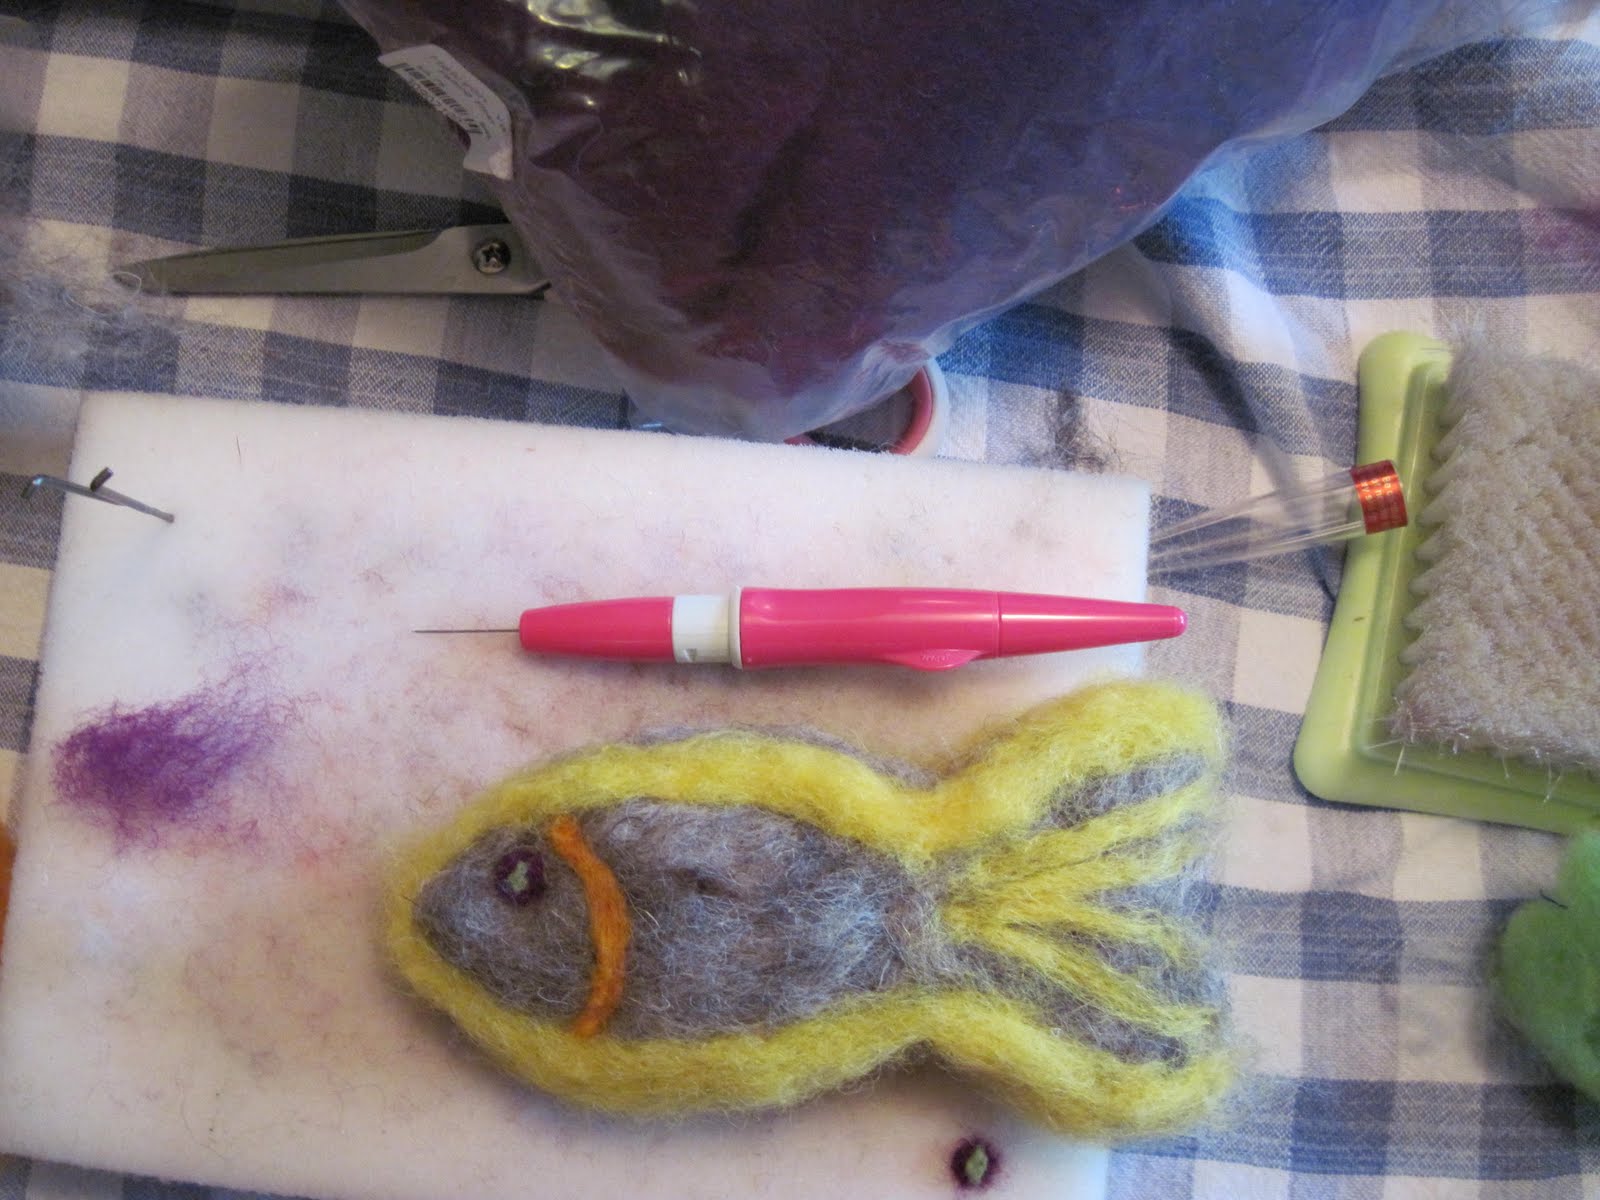
 (PS Garden season has started, so I am busy, and needle felting has a season, too, for me, fall and winter, so I will continue to add posts, but they should pick up substantially in the fall!)
 Using the same techniques as in the felted card, but on a larger scale, I needle felted this pillow (though still have yet to stuff it). I free lanced on the design, knowing I wanted a wild vine in a somewhat circular form overall. There are a few other differences from the felted card- this design has more shading (on the vines) and I used dyed, curly Merino locks to add the yellow curves to the center flower. I have only ever seen these for sale at fiber festivals-they add a bit of fun, and dimension, to your work. The next step is to stitch this into a pillow and stuff it. I probably will not use wool for the backing- it is expensive and pillows need to have one non-wool side, in case the wool feels itchy to you. I will probably use fleece. Hum..I might add a few vines too...

